Hey y’all! This page is a guide for how to edit my Photoshop/Procreate .PSD base files. Hopefully you find this helpful!
Downloading the bases
Any of my base files are available for purchase here: https://ko-fi.com/albybunny/shop
Important: To work with the base files you need to have an art program which can work with .PSD files. I recommend Photoshop or Procreate but there are others available.
Editing the bases
Step 1: Open the file
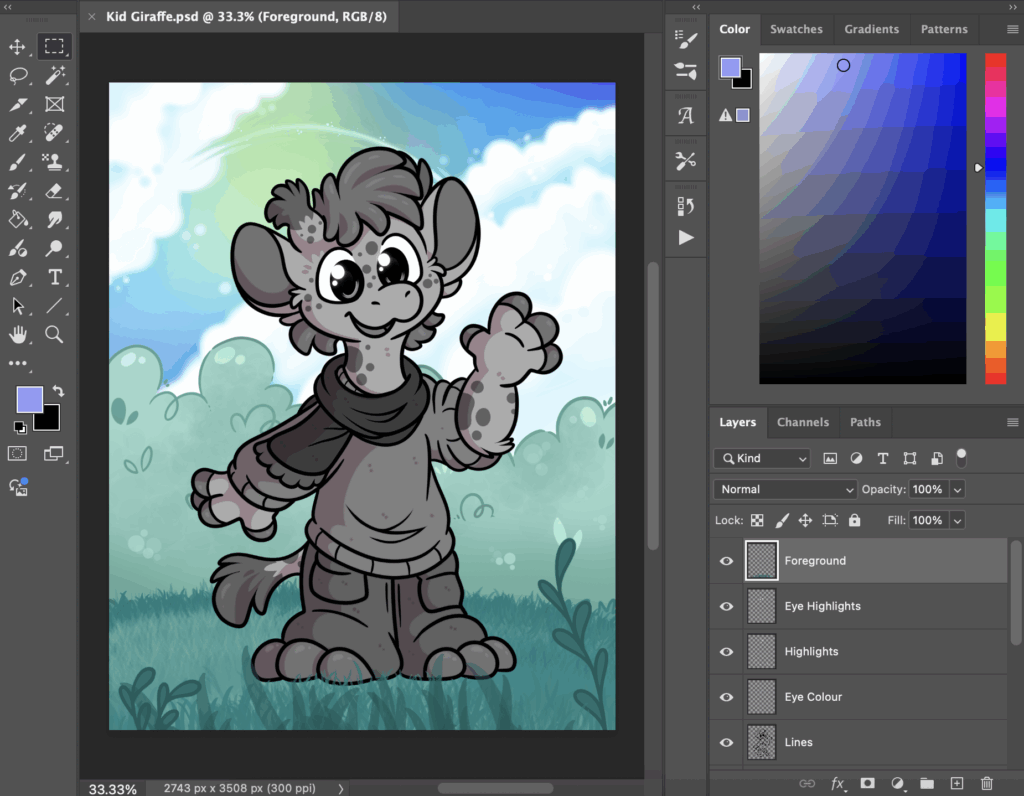
When you open your file, you will see something like the picture here.
All the different aspects of the image are separated on to different layers. So there will be layers for the background, lines, colours and shading.
The background layer is a flat image and cannot be edited.
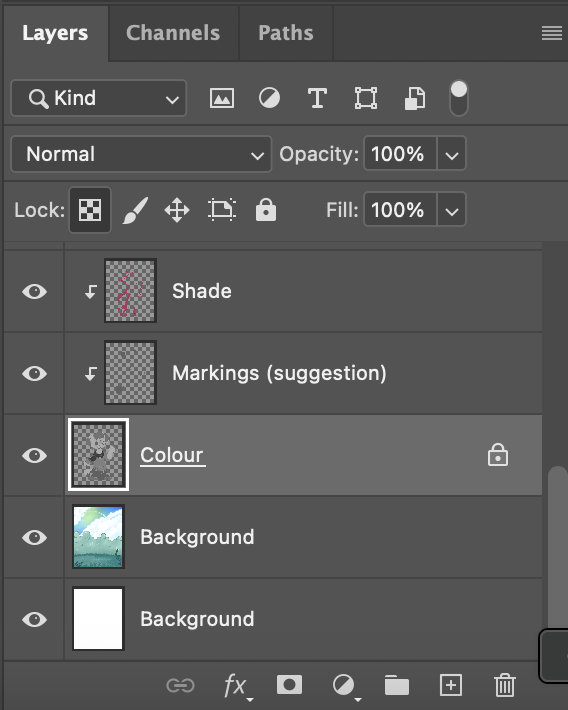
Step 2: Alpha lock the colour layers.
The main layer you are going to want to work with are the ‘colour’ layers.
To start colouring the base, you first need to make sure ‘Alpha Lock’ is enabled. This ensures that the layer is pixel locked – so any colouring you do will only affect the pixels already on that layer (it makes colouring inside the lines super easy!)
You can do the same thing for any layer on the base file – such as colouring in the eyes on the character.
Want to get really fancy? Try colouring the line-art too!
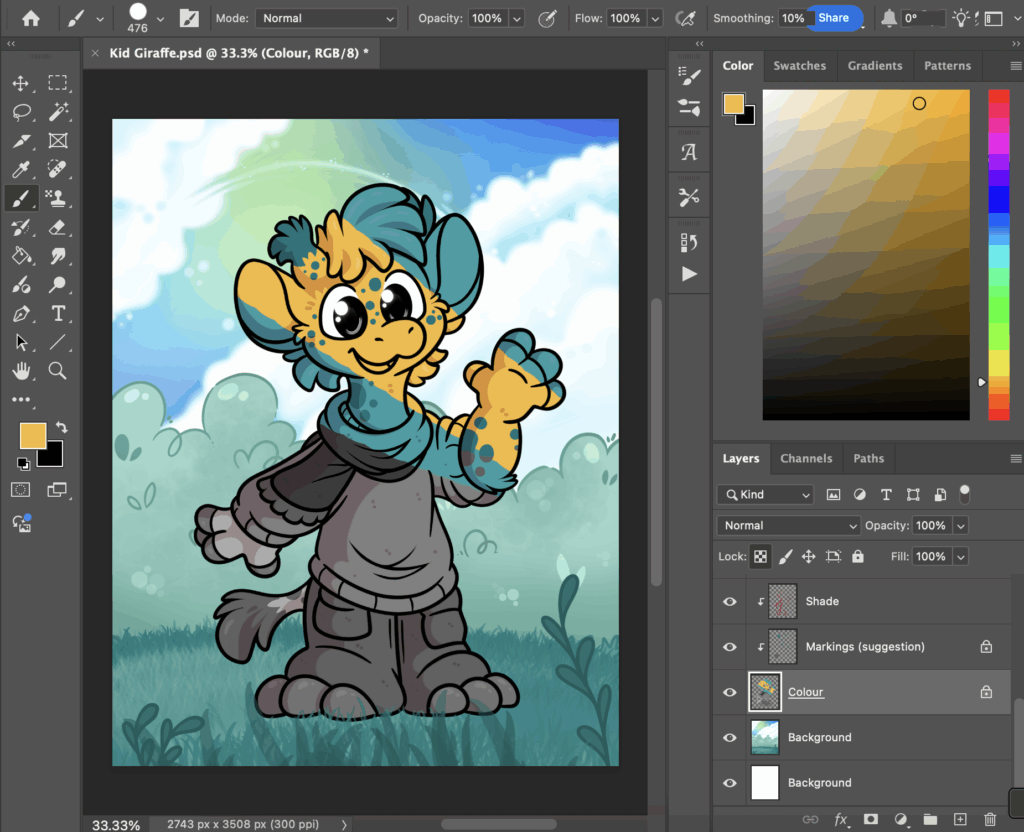
3. Colour it in!
Now your layers are alpha locked, it’s time to start colouring!
This is the fun part – simply use the tools you like to colour with. Give the fancy brushes in your art program a try, or simply use the paint bucket to drop in whole blocks of colour!
I’m also fine with people adding their own extra flourishes – earrings, collars, honestly go for it. Adding your own line work is a little more advanced but feel free to give it a go!
Have you downloaded and used a base? Please tag me on socials so I can look at your work! I love seeing what people have made with my bases!
Telegram Sticker Border
did you buy a Telegram sticker template? you’ll need to create the white border! Here’s how to do this in Photoshop.
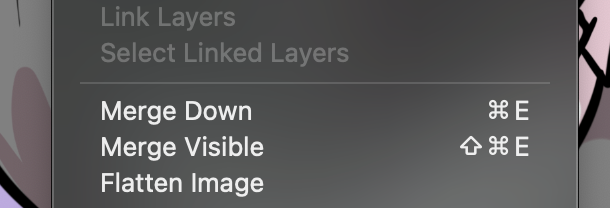
Step 1: Merge the layers.
Go to ‘Layer’ in the top menu and merge the layers of your finished sticker design (keep the background transparent!)
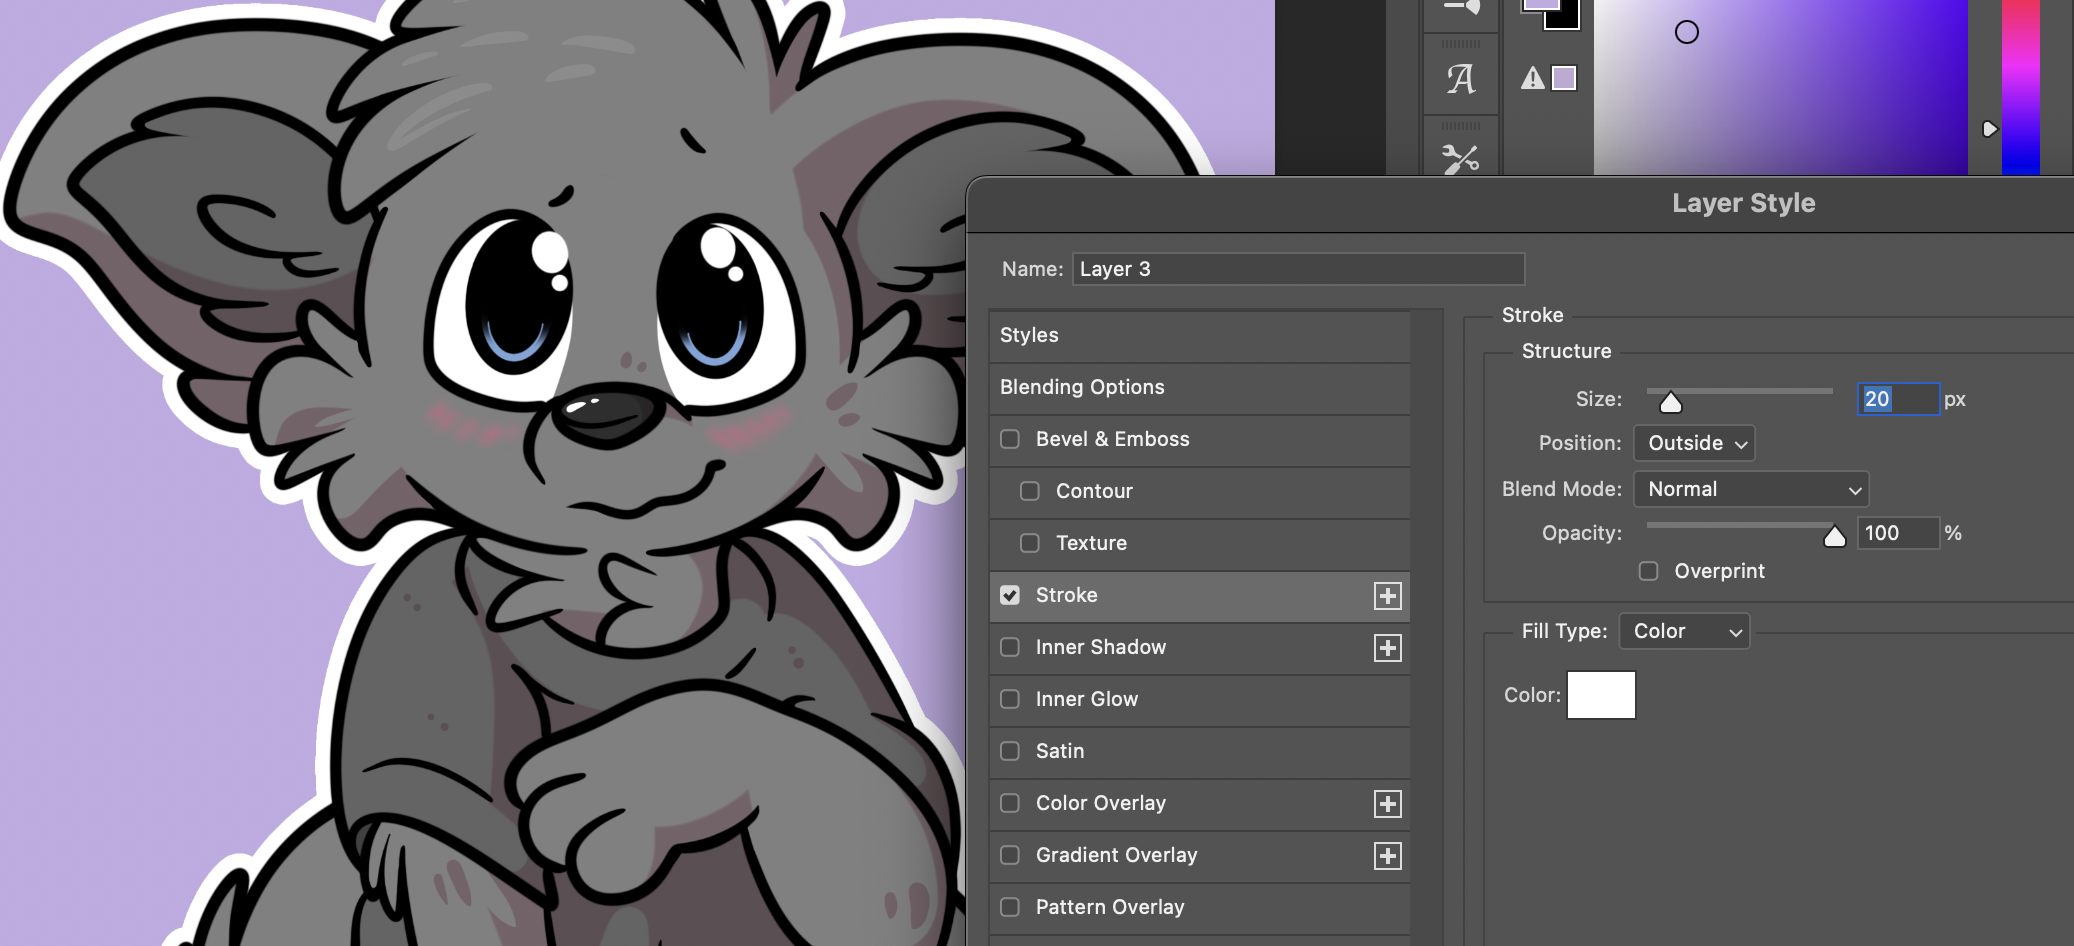
Step 2: Layer Style – Stroke.
Go to ‘Layer’ in the top menu and select ‘Layer Style’ > ‘Stroke’.

Step 3: Set the border.
Use the pop up menu to select a white border, I tend to use 20px but you can use any thickness you like.
Resize the file to 215x215px and you’ll be set!